
Setting Role-Based Access for Teams: A Practical Guide
Learn how to set team roles in Talkty, invite users, choose permissions, limit reps to selected sales flows, and manage finance visibility.
By Emily Carter · · 6 min read ·

Setting role-based access for teams helps you match each person’s permissions to the work they do. In Talkty, you can use built-in roles or create a custom role, choose permissions by module, and control which sales flows reps can see. This guide walks through the setup and the main decisions to make.
Plan access around real responsibilities
Before changing permissions, list the work each person handles: customer records, messages, sales flows, finance, campaigns, or reports. Then decide what they need to view or change to do that work.
Keep access separate from ownership. A permission determines what someone can see or do; it does not, by itself, assign them responsibility for a customer or follow-up. Talkty’s shared inbox lets your team assign and tag conversations, while the Sales CRM provides cards, follow-up plans, reminders, and dated activity history.
Choose a built-in role or create a custom one
Talkty includes four built-in roles:
- Admin: Can do everything except manage subscription and billing.
- Manager: Can handle day-to-day work, but cannot change users, subscription, or system settings.
- Rep: Can work with cards and customers on their own sales flows, messaging, appointments, proposals, and entering sales and payments.
- Read only: Can see everything but cannot make changes.
The account creator is the owner and has every permission. The Super Admin role does not appear on the team screen and cannot be assigned to another person.
If the built-in roles do not fit your workflow, create a custom role and choose permissions such as view, write, delete, and export for modules including Sales CRM, Customers, Messages, Finance, Campaigns, and Reports. A person can have more than one role; when permissions overlap, the broadest permission applies.
One important limit: nobody can grant a permission they do not have themselves. For example, an Admin cannot grant billing permissions to themselves or another user.
Set up roles and invite teammates
Use these steps in Talkty to create a role and add a teammate.
1. Open the team settings
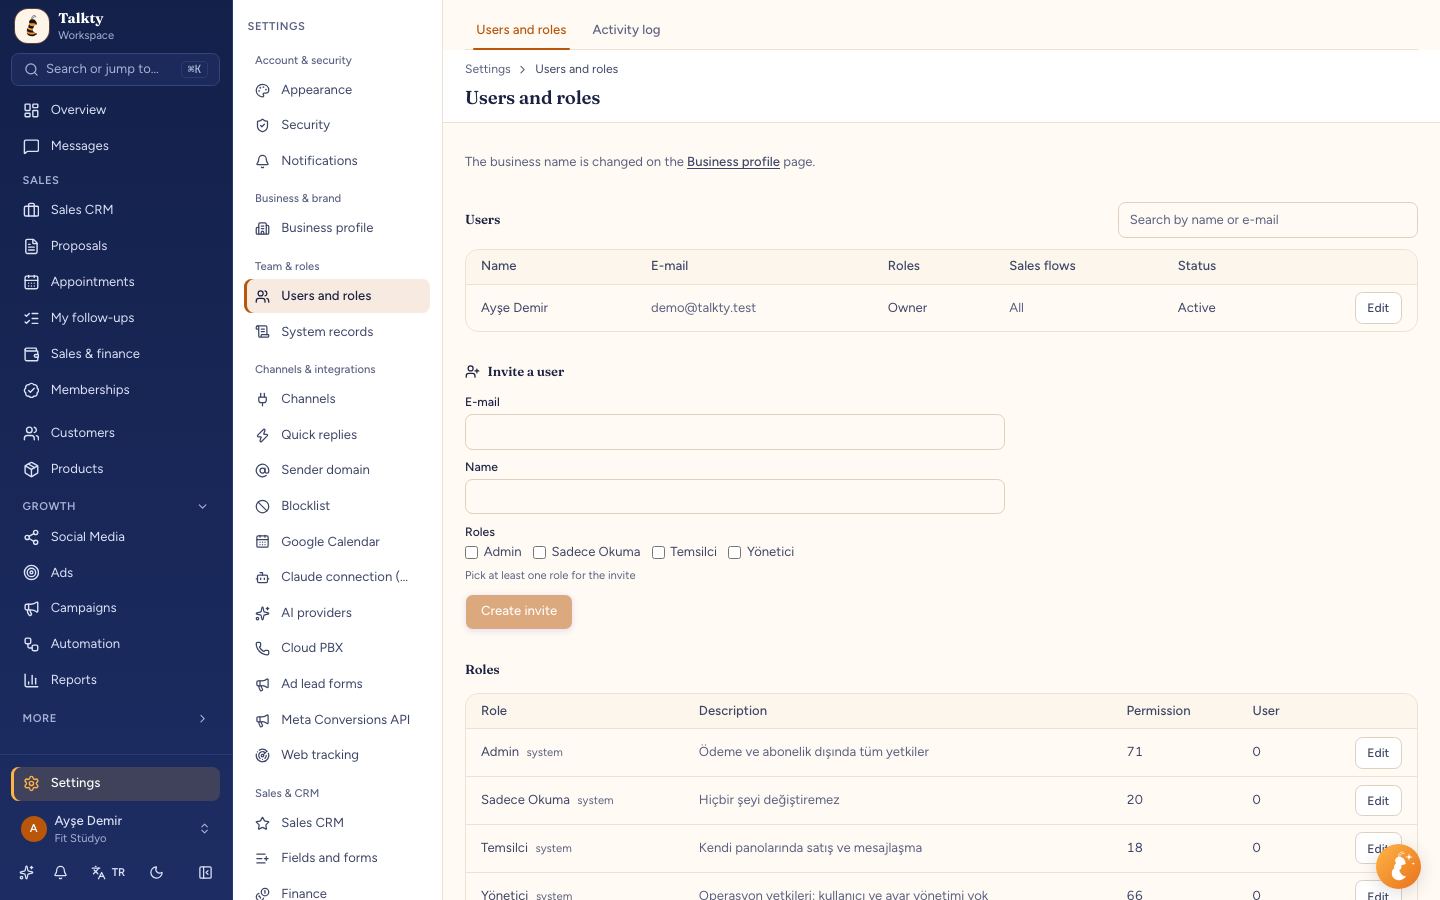
Go to Settings › Team & roles › Users and roles. The Users and roles screen shows team members and pending invitations. To create a custom role, open the Roles tab from this area.
2. Create a custom role, if needed
In Roles, create a role and select the permissions needed for each module. The role settings offer actions such as view, write, delete, and export where available. Review each module separately rather than assuming that access in one area opens another.
Sales CRM has distinct permission rows. Sales CRM permissions cover work such as viewing, editing, deleting, and assigning cards. The Manage permission opens the sales flow and column settings and the main sales flow. Sales CRM settings controls access to the separate Settings › Sales & CRM › Sales CRM page. Permission to work with sales flows does not automatically open those settings.
3. Invite the user and assign a role
On Users and roles, click Invite user. Enter the person’s email and choose at least one role. Create invite remains disabled until a role is selected. The pending invitations list shows the selected role next to the email.
Talkty sends an invitation email. You can also copy the invitation link and send it over WhatsApp. The link is valid for seven days. When the person opens it, they set their name and password. If they already have a Talkty account, they use their current password or open the link while signed in to that account.
4. Check pending invitations and seats
You can cancel a pending invitation from the list. Pending invitations use a seat, as do reactivated inactive users. If you have reached your plan’s user limit, cancel a pending invitation or upgrade your plan.
5. Confirm the user’s access
Check that the assigned role matches the person’s responsibilities. The user must have at least one role, and the last role cannot be removed. You cannot change your own sales flow access. Controls on the screen only appear when you are allowed to use them; a Read only user can see the list but cannot change it.
Limit reps to the right sales flows
Reps only see the sales flows opened to them. Choose which reps can access each flow in the sales flow settings. Managers can also hide selected columns from reps.
When planning this access, consider the work each rep owns and the boards they need to handle it. A rep’s access to a sales flow is separate from access to the general Sales CRM settings. The Idle opportunities tab is also available to reps who can edit sales flows, even if they do not have general Settings permission.
For related ideas on keeping sales work moving, see Reminder Systems for Sales Teams. If your team coordinates customer conversations across channels, the benefits of a shared inbox for small businesses explains how shared message handling can help.
Set finance visibility carefully
A custom role with Finance › View enabled and Finance › Manage disabled has additional finance visibility options. By default, Only see their own sales is on, so the user sees only sales they are responsible for. You can also set Days back to limit the period they can see; leave it empty for no time limit.
This visibility rule applies across the Overview, Finance screen, sales on deal and customer screens, and finance reports. If a user has several roles, the broadest permissions apply. The account owner and roles with Finance › Manage, such as Admin, can see everything.
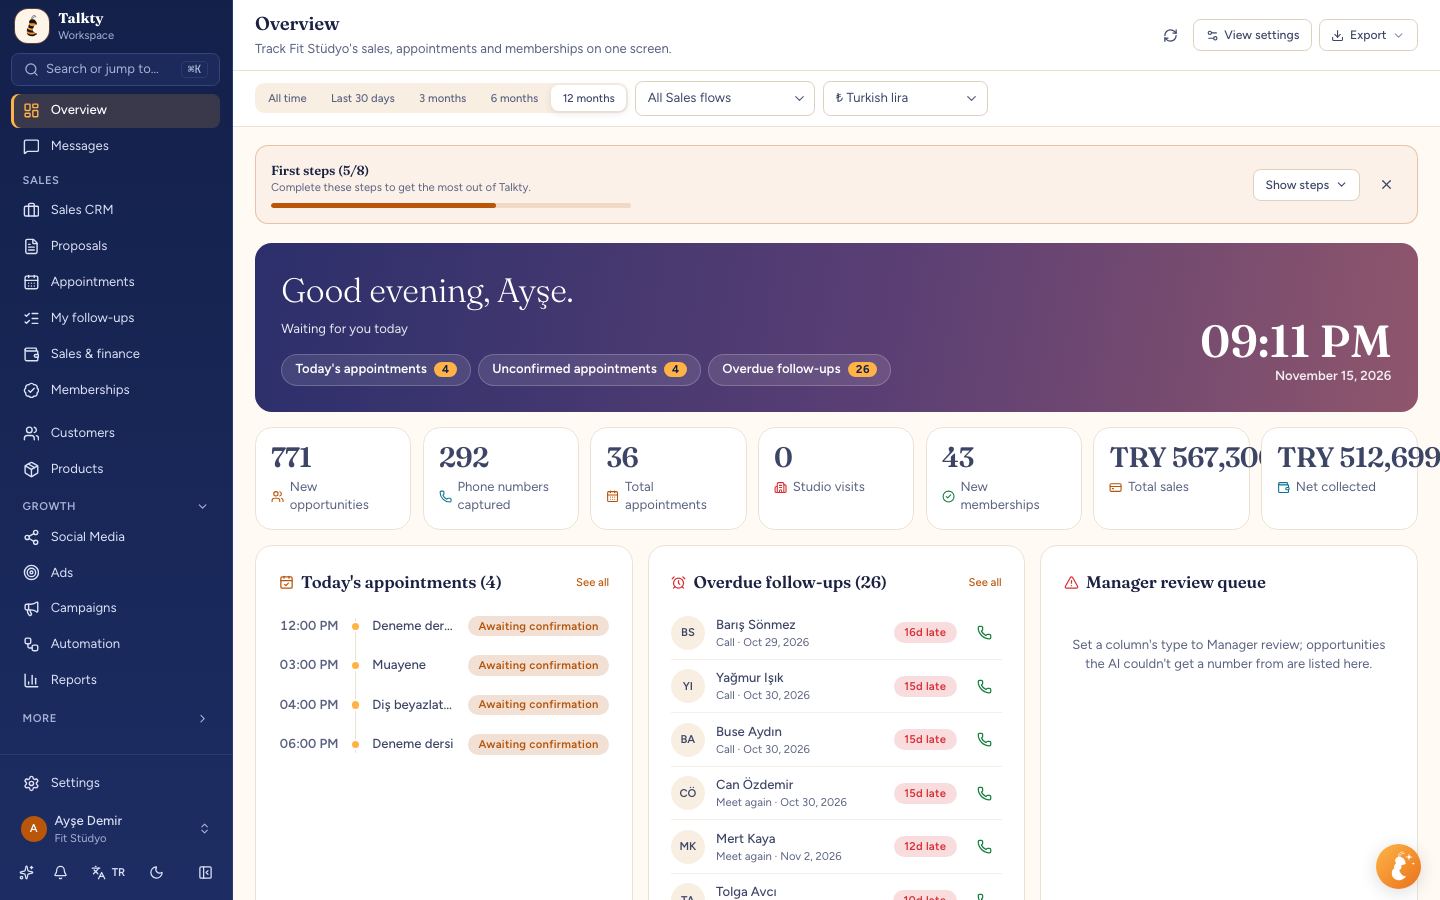
A user without Finance › View does not see sales amounts on the Overview, including sales and collected cards, the Financial summary, Recent sales, Today’s payments, and the sales amount in rep performance. The exported panel file shows sales and collected as zero for that user.
Review permissions for publishing and other work
Check permissions for each module that matters to the role. For example, Social media posts › Approve lets a user approve or reject posts waiting for approval and publish without approval when approval before publishing is on. The owner, Admin, and Manager have this permission by default.
Avoid assuming that a role’s access to one area grants access to another. Review the relevant permission row for the work the person needs to do, then test the setup against a normal task, such as opening a sales flow or reviewing a report.
Maintain roles as the team changes
Revisit access when someone changes responsibilities or leaves the team. You cannot deactivate, remove, or change the roles, sales flows, or password of a person with broader permissions than your own. For example, an Admin cannot make those changes to the account owner.
Password resets from the team screen work only for users who belong to your team alone. If a person belongs to another team too, they need to use Forgot password on the sign-in screen or ask the other team’s admin for help. Resetting a password signs the person out everywhere.
In short
To set role-based access in Talkty, open Settings › Team & roles › Users and roles, choose a built-in role or create a custom one, and invite each teammate with at least one role. Set sales flow access separately, review finance visibility where relevant, and check permissions against the person’s actual tasks. Keep ownership clear with your team’s assignment and follow-up practices.
Frequently asked questions
- Where do I invite a teammate in Talkty?
- Go to Settings › Team & roles › Users and roles, click Invite user, enter their email, and choose at least one role. Then click Create invite.
- Can I create a custom role?
- Yes. Open Roles under Settings › Team & roles › Users and roles, create a role, and choose available permissions such as view, write, delete, and export for relevant modules.
- How do I limit which sales flows a rep can see?
- Choose which reps can access each sales flow in the sales flow settings. Reps only see the flows opened to them, and managers can hide selected columns from reps.
- Can a role limit which finance information a user sees?
- Yes. For a role with Finance › View on and Finance › Manage off, you can limit visibility to the user’s own sales and optionally set a Days back period.
- Do pending invitations use a user seat?
- Yes. Pending invitations and reactivated inactive users use a seat. You can cancel a pending invitation from the list if you need to free one.
Emily Carter